Microsoft Project is a powerhouse for managing complexity, but it is notoriously unforgiving. If you treat it like Excel—typing in dates and coloring cells—you lose the engine’s ability to predict delays. A well-built schedule updates itself; a poor one requires constant manual fixing.
To successfully steer projects to completion in 2026, move beyond basic planning. Here are the 10 proven best practices for scheduling, execution, and secure sharing.
Phase 1: Planning and Scheduling Rules
1. Auto-Schedule Everything
The Rule: Never leave tasks as “Manually Scheduled” (the pushpin icon).
Why: Manual tasks do not move when predecessor dates change, breaking your critical path. Always set File > Options > Schedule > New tasks created to “Auto Scheduled”. This ensures the scheduling engine dynamically updates dates based on dependencies.
2. Logical Linking (No “Orphan” Tasks)
The Rule: Every task in your schedule—except the very first start milestone and the very last finish milestone—must have a Predecessor and a Successor.
Why: If a task isn’t linked, a delay in that task won’t push the project end date, giving you a false sense of security. Check your schedule for “hanging” tasks and link them logically.
3. Don’t Type Dates (No Hard Constraints)
The Rule: Avoid typing a date directly into the “Start” or “Finish” columns.
Why: Typing a date creates a “Hard Constraint” (e.g., Must Start On), which anchors the task in place. If the project is delayed, that task will not move, and your schedule becomes inaccurate. Instead, let the Predecessor links and Durations drive the dates.
4. Never Link Summary Tasks
The Rule: Only link the lowest-level tasks (the subtasks).
Why: Linking Summary bars creates “circular logic” errors and makes the schedule unpredictable. Summary tasks should simply be a roll-up calculation of the work beneath them.
5. Create a Work Breakdown Structure (WBS)
Before opening the software, outline your deliverables. In Microsoft Project, use indentation to create a hierarchy. This organizes the scope into manageable components and ensures costs roll up correctly to the project level.
Phase 2: Execution and Tracking
6. Set a Baseline Before You Start
The Rule: You cannot measure a delay if you don’t know where you started.
Why: Once your plan is approved, go to Project > Set Baseline. This snapshots your original Start, Finish, Cost, and Work fields. As you update the project, you can compare “Actual” vs. “Baseline” to see variances (slippage).
7. Use the “Status Date” for Updates
The Rule: Never log progress in the future.
Why: When updating the schedule, set the Status Date to the current reporting period. This tells MS Project to schedule unfinished work after this date, keeping the schedule realistic.
Phase 3: Communication and Sharing
8. Stop Using PDFs for Project Data
The Problem: Many project managers export plans to PDF to share them with stakeholders. This leaves participants overwhelmed with static pages, making it impossible to filter views, check the critical path, or search for their specific tasks.
The Best Practice: Share the actual .MPP file data, but do it securely.
Giving every stakeholder a full Microsoft Project license ($1,000+) is costly and risky—they might accidentally delete a dependency and break the schedule.
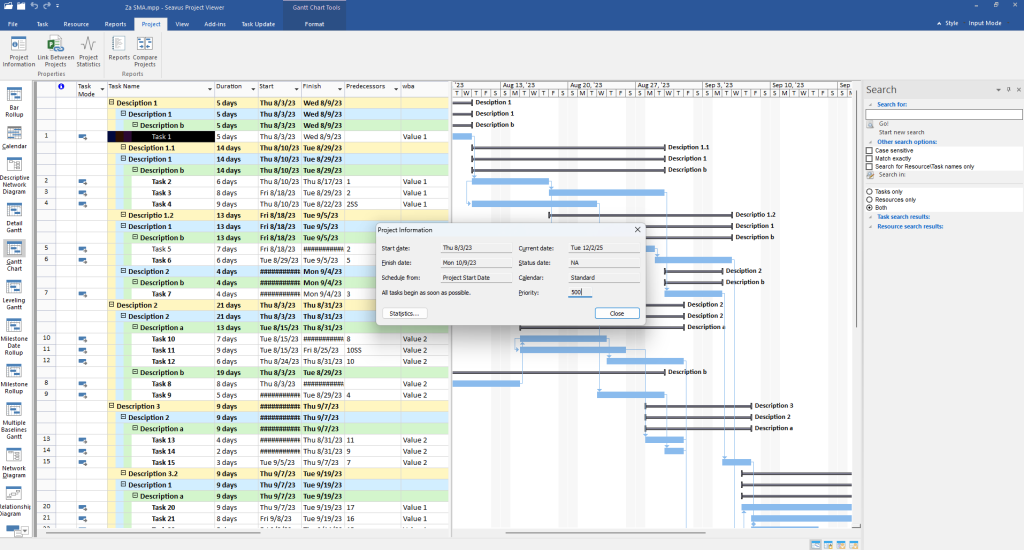
The Solution: Use Seavus Project Viewer.
Seavus Project Viewer is a standalone application used by Fortune 500 companies to open and view .mpp files. It allows stakeholders to:
- View data with 100% accuracy: See the plan exactly as the manager created it.
- Use Dynamic Views: Stakeholders can filter for their tasks, view the critical path, and check milestones without seeing irrelevant data.
- Save Costs: Provide read-only access to the team for a fraction of the cost of a full license.
9. Standardize Task Updates
The Rule: Avoid email chains for status updates.
Why: Manually re-typing email updates into MS Project leads to data entry errors.
The Solution: Use the Seavus Task Update add-in. Team members can report progress (e.g., “% Complete” or “Actual Hours”) directly through the viewer. The project manager receives these updates and can approve them to automatically update the master schedule.
10. Meaningful Reporting
Don’t just send a Gantt chart. Use reports to answer specific stakeholder questions:
- Resource Reports: Identify bottlenecks and overallocation.
- Cost Reports: Compare Baseline Cost vs. Actual Cost.
- Slippage Reports: Highlight tasks that have deviated from the baseline.
Both Microsoft Project and Seavus Project Viewer allow you to generate these visual reports to drive informed decision-making.